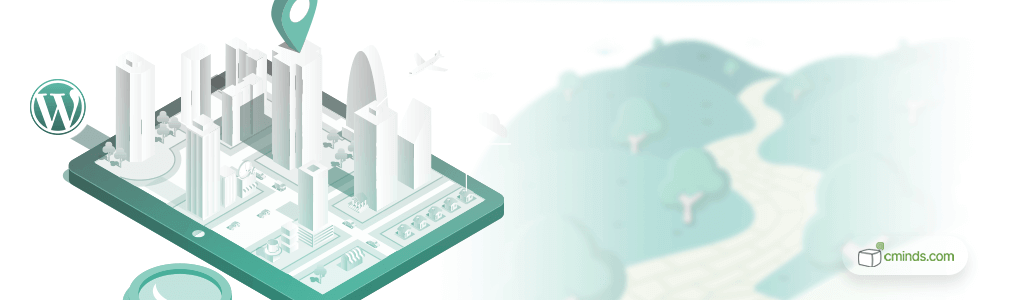
Bloggers and travel enthusiasts are constantly seeking innovative ways to engage their audience and make their content stand out. One effective method to captivate your readers is by incorporating an interactive map into your WordPress travel blog.
This blog post will guide you through the process of creating an interactive map, with a primary focus on the WordPress plugin Route Planner.

The Importance of an Interactive Map in WordPress Travel Blog
Before we dive into the technical aspects, let’s discuss why an interactive map can be a game-changer for your travel blog.
An interactive map gives your readers a visual representation of your travel adventures, making your content more engaging and memorable. It helps your audience plan their own trips, discover new destinations, and follow your journey in an immersive way.
They offer geographical context to your stories and assist in presenting data clearly.
From an SEO perspective, interactive maps can improve your blog’s search visibility, and their shareability can expand your audience reach.
In essence, integrating interactive maps into your travel blog transforms it into a dynamic and informative resource, making your content both entertaining and empowering for your readers.
July 2026 Offer – For a Limited Time Only:
Get Map Routes Manager Plugin for 15% off! Don’t miss out!
Choosing the Right WordPress Plugin Route Planner
To create an interactive map on your WordPress travel blog, you need the right tool, and that tool is the WordPress Plugin Route Planner.
It is an invaluable resource for travel bloggers seeking to enhance their content. With its user-friendly interface and travel-focused features, this WordPress plugin simplifies the process of incorporating interactive maps into your blog posts.
Whether you want to showcase your recent adventures, plan future trips, or offer destination insights to your readers, this plugin empowers you to do so effortlessly. This plugin provides a range of customization options, enabling you to tailor your maps to your blog’s unique style and content.
Installing and Activating the Plugin
First and foremost, you need to install and activate the WordPress Plugin Route Planner. Follow these steps:
a. Log in to your WordPress admin panel.
b. Navigate to the “Plugins” section.
c. Click on “Add New.”
d. In the search bar, type “WordPress Travel Route Plugin.”
e. Install and activate the plugin.
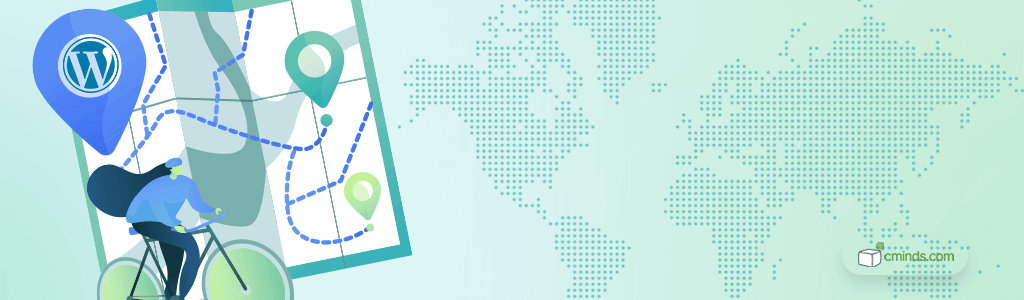
Adding Locations and Routes

Once the plugin is activated, it’s time to start adding locations and routes to your interactive map, harnessing the power of Google Maps as the foundation for your travel storytelling:
a. Go to the Route Planner plugin in your WordPress dashboard.
b. Click on the “Route” tab to start creating a new route.
After that, you will be presented with a list of features that can help you customize your interactive WordPress map even further.
- In the Basic Details section, you can include all the basic information regarding the Route, like the name, description, and status of your route.
- The Taxonomy and Custom Taxonomy Link enables you to link your route to categories, tags, and any custom taxonomies you’ve created to help organize your content.
- Route Settings offers you the flexibility to tailor the interactive WordPress maps to your precise preferences. You can opt to display real-time weather information for each location on the route, providing valuable insights for planning user journeys.
This section of our WordPress plugin route setup enables you to include directional arrows along the trail path, which offers enhanced navigation guidance.
Here you can also decide to display the distance in meters and feet instead of kilometers or miles to align the content with users’ preferences.
Furthermore, you can decide whether to display a dedicated “Locations” section under the map on the single route page, facilitating easy access to additional details, or opt for a clean and easy-to-read presentation by showing the path outline alone.
These route display plugin settings empower bloggers to create a tailored map experience that resonates with their audience’s preferences and enhances the overall interactivity of their travel blog.
- With the Elevation Graph feature, you can finely tune settings directly impacting the elevation graph’s appearance and functionality.
Within this segment of route setup, you can visually represent the changes in altitude along your route, providing valuable insights into the terrain you’ll encounter from the starting point to the finish.
Whether you want to emphasize steep inclines or gentle slopes, the ability to adjust these settings ensures that the graph effectively communicates the changes in elevation.
- The Multimedia section enables you to enhance your map with images and videos to provide a more immersive experience.
- Our Map functionality allows you to create your route directly on the map, step by step, pinpointing each location along the way. By doing so, you can craft a comprehensive and highly detailed visual representation of the journey, ensuring both accuracy and precision.
- Last but not least feature of the WordPress plugin route planner is the ability to create Location Markers. With every point you add to the map, a location marker is generated, complete with corresponding coordinates, descriptive information, and the option to include images and videos.
This particular section grants you the ability to associate relevant details and media with specific points of interest, ensuring a comprehensive and engaging representation of your data or journey.
But it doesn’t stop there! You can go beyond the basics and enhance your map with points of interest along the route. Each point of interest can be enriched with captivating images and detailed descriptions, turning your map into a treasure trove of travel insights.
The WordPress plugin route planner allows you to add informative popup tips on the map route layer, creating an engaging and interactive experience for your audience.
As your readers explore your map, they can click on these markers to learn more about the places you’ve visited, adding a layer of storytelling that goes beyond the written word.
Create an engaging interactive map for your travel blog and allow your readers to follow and experience your journeys on a whole new level.
Customizing Your Interactive Map
In order to enhance your interactive map’s visual appeal and functionality, you can utilize custom icons and tailor the route’s appearance.
To get started with custom icons, enable this feature in the WordPress plugin route planner by navigating to the Route Page tab, then Appearance, and check the box for “Enable custom icon per location.” Afterward, go to Settings, specifically the General tab, and select “Icons.”
Here, the admin can add distinct icons using unique URLs, ensuring each one is separated by a new line.
Additionally, for further customization, you can set the route’s color either during the initial route creation or when editing it later on, utilizing the “Path color” option. These features allow you to create a visually appealing and personalized map for your blog, enhancing the overall user experience.
Adding the Map to a Blog Post
Our plugin offers versatile support for various shortcodes, granting more flexibility to use them on your website.
You can integrate them into your posts or turn them into widgets that display individual trails. Alternatively, you can employ shortcodes to showcase a comprehensive map featuring all trails within a particular category.
What is more, these shortcodes can be utilized to create a user dashboard, providing users with easy access to all their uploaded routes.
Update your Map Regularly
Updating your WordPress interactive route maps is crucial for maintaining an engaging and relevant travel blog. In the fast-paced world, where destinations evolve and new adventures await, stale content can quickly lose its appeal.
It is not enough to install a WordPress plugin, use it once to create a route, and never come back to it again.
Make sure to regularly refresh your maps with the latest locations, paths, and points of interest not only to keep your readers excited but also to position your website as a reliable source of up-to-date travel information.
It demonstrates your commitment to sharing real-time experiences and ensures that your audience remains captivated by your ever-evolving journey.
Promote Your Interactive Map
To maximize the impact of your interactive map on your travel blog, it’s essential not to overlook the power of promotion. Leverage your social media platforms and newsletter to reach a wider audience and draw more readers to your blog.
Encourage your followers to engage with the map, inviting them to share their thoughts and even use it as a resource for planning their own adventures inspired by your experiences.
By actively promoting your map and fostering interaction, you enhance your blog’s visibility and create a vibrant travel community eager to explore the world alongside you.
Conclusion
Incorporating an interactive map into your WordPress travel blog using the WordPress Plugin Route Planner can elevate your content and engage your audience in a whole new way.
By following the steps outlined in this guide, you can create detailed maps that allow your readers to follow your paths and inspire them to go on their own travel adventures. So, start mapping your journey today and watch your travel blog soar to new heights!